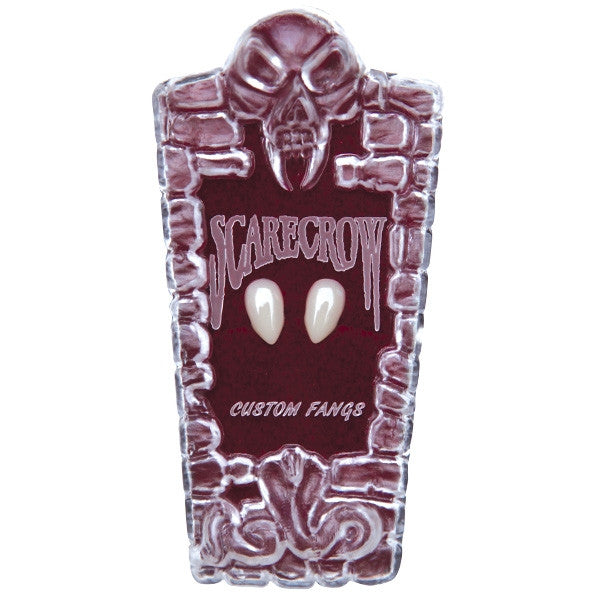

Scarecrow Inc Fangs Small Custom
Scarecrow Inc Fangs Small Custom
https://www.youtube.com/watch?v=L0dW5SkWYxc
Novelty Fangs for temporary use only, for adult entertainment, costume & Halloween
Do not use over braces, wires, plates, crowns, bonding, veneers, dentures or any other dental work nor if you have irritated or sensitive gums nor right after a dental cleaning until your gums heal
Fangs are not a toy, keep out of children's reach
Unhardened liquid is flammable. Do not smoke while customizing fangs nor customize near open flame
Once purchased, fangs are not returnable for any reason, even if unopened
To prevent swallowing, do not eat, drink or sleep with your fangs on
For adult entertainment use only, never bite anyone with your fangs
Store unused kit out of direct sunlight. Kit works best when used at room temperature.
Fake blood, foods or drinks may stain your fangs. Blood-tips, rhinestones & color finishes may wear or chip, handle gently.


1. POSITION: If you have pointed canines or triangular shaped teeth, try fangs on incisors instead of canines (see photos 1 & 2). In a mirror, find the best position for the first fang. Check the angle front-to-back & side-to-side. Practice putting the fang in the best position in a single motion so that you can locate it quickly without adjusting it once the mixture is inside.

2. MIX: Twist ONE capsule of powder apart. Tap, pinch & twist the ends of each side of the capsule into the carry case to empty completely. Tilt the case so that all the powder collects at one edge. Snap off bottle tip & squeeze 4 drops (“Shredders” use 8 drops, 9 if it seems too dry) onto the powder. Stir with wide-end of wood stick for 30 seconds-1 minute until the mixture is uniformly wet and turns thick & pasty like toothpaste. Keep the mixture in a glob at the edge of the tilted case so you don’t waste any (Illustr. A).

3. FIT FIRST FANG: Scrape ALL of the thickened mixture from the case onto the inside WALLS of one fang - NOT into the deep part of the cavity (Illustr. B) (for “Blood-Tips”, do not get mixture on red tips). Gently push the fang all the way up onto your tooth, locating the best position in one motion and hold. Push the fang lightly against the front of your tooth so it has good contact at the top & looks natural. DO NOT wiggle, reposition or adjust the fang after you push it up onto your tooth. The mixture should squeeze out around the edges into the cracks between your teeth, this is normal. The more excess you leave on between teeth, the better the fit.
4. WAIT 5 MINUTES: Holding onto the fang, flare your lips and tilt your head back (so you don’t drool) & watch a clock for 5 minutes as the mixture hardens. Don’t start the other fang until 5 minutes have passed so that you don’t accidentally loosen the first before it’s ready. Do not remove the first fang.
5. FIT SECOND FANG: Now, practice positioning the second fang in the mirror. Orient it relative to the first so that it has a similar angle & looks good. Keep in mind that teeth are asymmetrical & fangs may fit your right and left teeth differently, this is natural. You are trying for the best fit for each tooth. Leaving the first fang in place, customize the second fang, hold & wait 10-15 more minutes after you customize both fangs to allow the material on the second fang to harden completely.

6. REMOVE: Because the material continues to harden for up to 24 hours, remove them after 15 mins, don’t just leave them on for the night. To remove, gently push your lower teeth forward against the backside of the fang tips until you hear a slight click (Illustr. C). Then grip up around the top of the fang and edge of the material so you don’t pull the cap off it. Wiggle and pull gently from the top until they loosen up. Your fangs will now clip on and off easily, yet fit snug. The excess on the back helps the material adhere to the fang cap, so do not trim that off. Only trim the excess that shows on the front of the fang with a nail clipper, not between teeth nor on the back where it doesn't show. Sometimes teeth are pointed, smooth or unusually shaped. If your fangs are well-positioned, but could be tighter, use a single capsule to customize both (or one) again over the hardened material.